
Check Orders
Temporary Checks
- Open a Transaction work area.
- Search for the member.
- In the Account Summary section, hover over the gear icon of the appropriate share or loan and click Print Starter Checks.
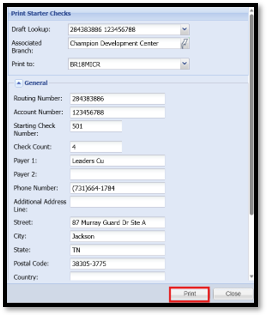
- In the new window, enter a starting check number in the Check Number field.
- In the Check Count field, enter the number of checks that should print.
- In the Payor 1 field, verify that the primary member appears.
- In the Payor 2 field, verify that the joint member appears. If there should only be one name on the checks, delete the value of the name that should not appear on the checks.
- Verify that the Phone Number, Street, City, State, Postal Code, Country, Country Code, and Address Format fields are populated with the correct information. If a field is invalid or the member does not want the information to appear on the check, edit or delete the value from the field.
- Click Print.
Harland Clarke Check Order
- Open a Transaction work area.
- Search for the member.
- Navigate to Additional Options > Harland Clarke Check Order.
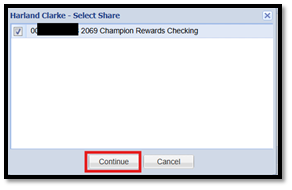
- In the Harland Clark Check Order window, select the checking account checks are being printed for.
- Click Continue.
- In the next window, verify and/or select
- Associated Branch
- Draft Lookup fields
- Personal or Business Checks
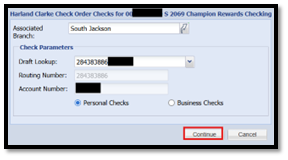
- Click Continue.
- In the browser window that displays the vendor's website, follow the prompts to complete the order.